Each time you plug in your Dolphin Pen, the above message appears.
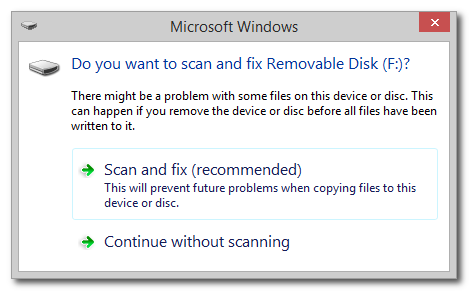
This is caused by Window 10s detecting errors in the filesystem of the drive, usually because of the drive not being disconnected correctly. To prevent this message from appearing, make sure to use the safely remove option built into Windows before pulling out your drive, or leave the Dolphin USB connected / plugged in when you shut down the PC.
You can prevent this message appearing as follows:
Fix Errors on the Removable Drive
Remove Corrupt Files on the Removable Drive
The Dolphin USB has two drives.
1. A CD/DVD partition which contains the core SuperNova software. Files on this partition cannot be changed or altered. This partition is listed in Windows Explorer as “DOLPHIN USB”
2. A removable / writeable partition which contains the user settings. This partition can be written to and if the file system on the USB has errors, this will be the partition which contains the,
To fix errors, make a backup of the user settings from the Removable drive then format the drive. If you are unsure about which drive to format or how to do this, please contact your IT team or get in touch with Dolphin Support.
If the drive has been formatted but the issue persists, you can stop Windows from displaying the message again.
Disable Windows 10 “Scan and Fix” Message
You can top Windows 10 from showing this message again for any device. To do this:
- Press WINDOWS KEY + R. The “Run…” dialog box opens.
- Type msconfig then choose OK.
- Open the “Services” tab.
- Open the item called “Shell Hardware Detection”.
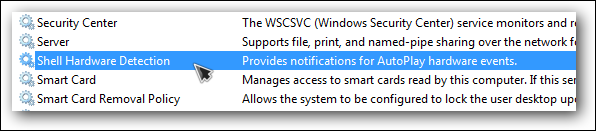
- Choose “Stop”, then from the “Startup Type” choose “Disable”.
- Choose OK then restart the PC.